Learn UI
General view

Title
In the top left corner there is a logo, name and version of the program. The version allows you to determine the relevance of the installed software in comparison with that in training videos and text materials.
Navigation
There are tabs on the left side of the main navigation panel.

|
|
Connection
At the bottom left there is an icon displaying the number of satellites detected by the UAV and a UAV connection button.
Maps
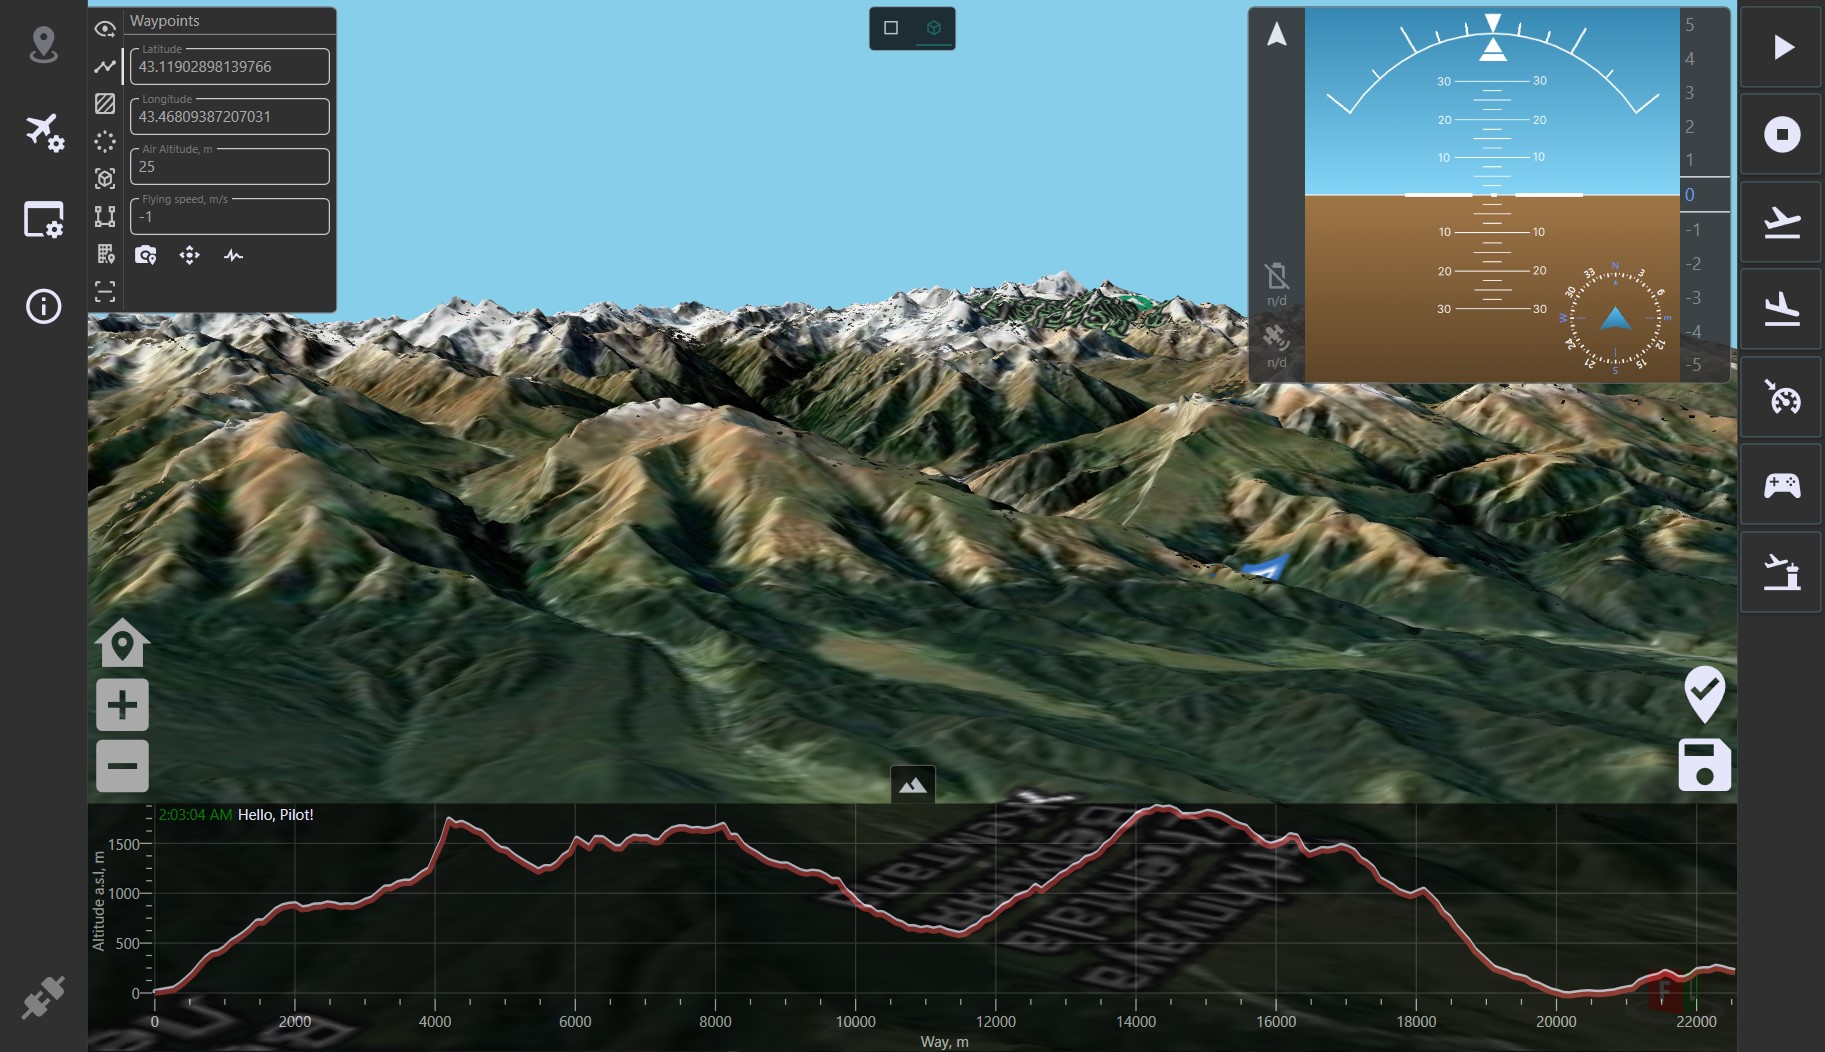
The center of the app consists of a terrain map (top part), an elevation map (bottom part), and a button to switch to a 3D map (in the middle of the terrain map).
The map contains the editing modes switch.
Different editing modes allows you to apply mission points of various formats.
Placing points on the map (starting from the second one) starts the process of the ground elevation calculation that goes directly below the route line.
At the moment the app is using map data available from U.S. Geological Survey, National Geospatial Program: SRTM.
3D map switch improves the visual component when planning flights in close proximity to points of interest (buildings, structures, trees, etc.)
Gauges
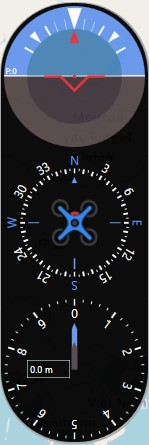
The main flight sensors are located at the top right:

|
|
Map control
There are map control buttons at the bottom right corner:

|
|
UAV control panel
On the right side of the app there are UAV control buttons which become operational after successful connection with the UAV.
The meanings of these buttons must be intuitively clear, but, just in case, there are explanations below:

|
|
Reminder
If you have forgotten the meaning of a button, simply hover your mouse over it and wait until a tooltip appears.